Once you launch Bartender™, the Wizard will appear automatically.
- Enter the information as instructed on each window page.
- Click NEXT for the next window and another set of instructions.
- Click BACK to review any inputs.
- Click FINISH once you are done.
Voila, your template is ready!
Here are more details for each step:
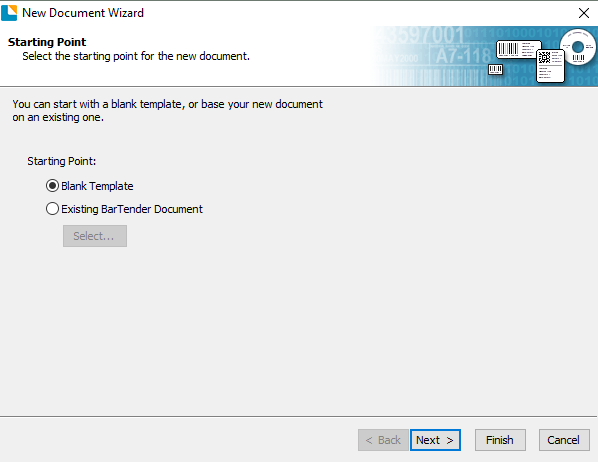
- Launching Bartender™ will initialize the Wizard automatically. Alternately, choosing a NEW document will also launch the Wizard. Choose “Blank Template” to create a brand-new template or you can choose an existing Bartender™ document to modify an existing template.
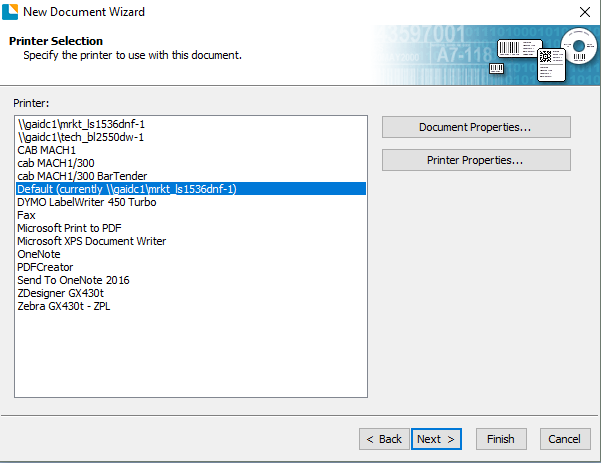
- Select your printer from the list of available printers.
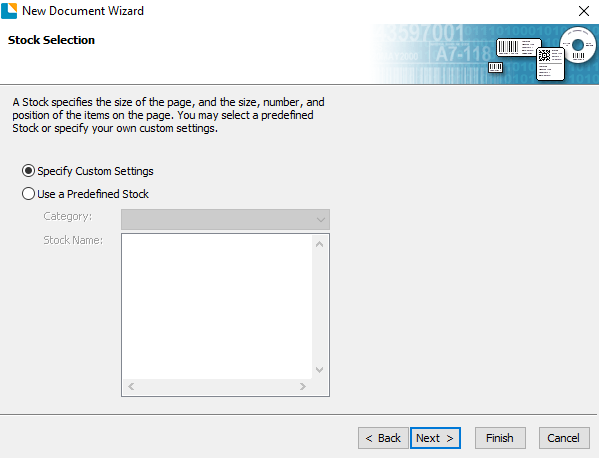
- You will need to make a template from scratch, so choose “Specify Custom Settings.”
- Choose your Page Size and Orientation.

- Specify the shape of your label.

- Specify the top, bottom, left, and right margin sizes.
You can find this information here:
https://cdn.labtag.com/wp-content/uploads/GA-International-Appendix-EN012020-January-28-2020.pdf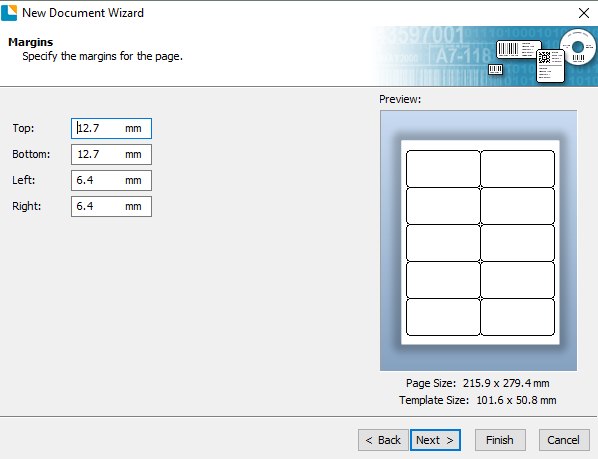
- Specify the number and rows of columns.
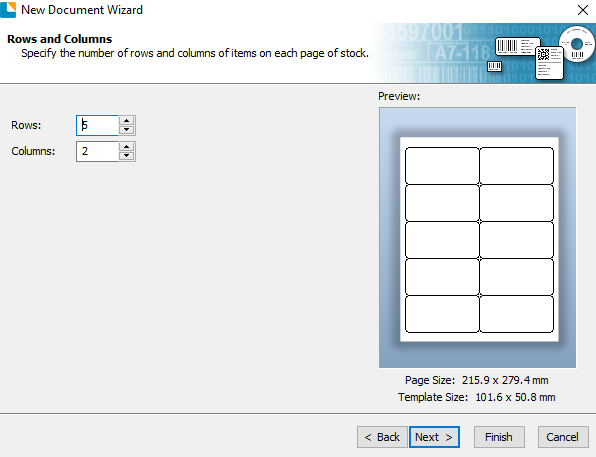
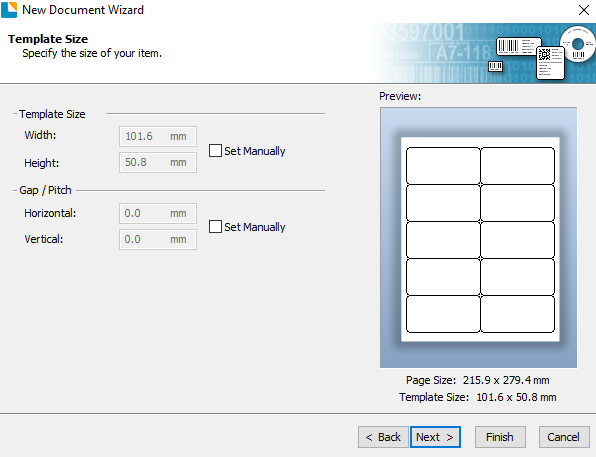
- Label size is calculated automatically, but to specify minor changes in the label sizes, choose “Set Manually” and enter the desired size info.
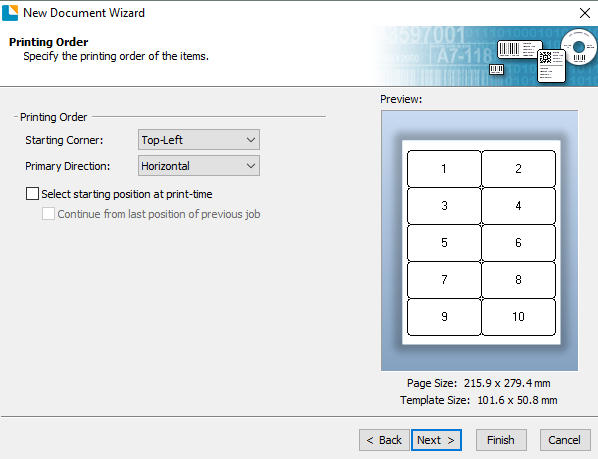
- Specify the printing order of the items; usually, it is “Top-Left” and “Horizontally”.
- At this window, you can choose a background color or picture if desired.

- This final window gives you a summary and preview of your label.
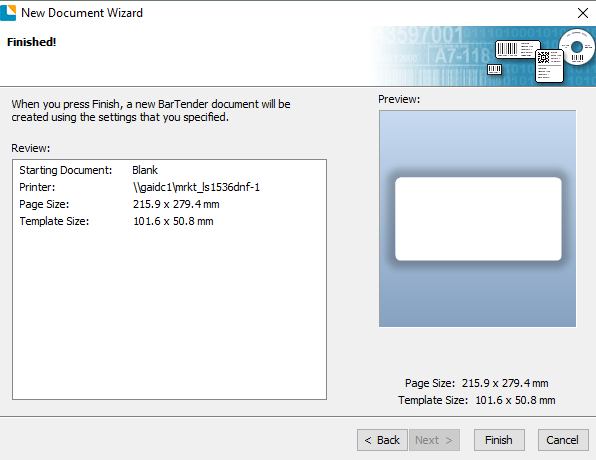
- You are now ready to click FINISH to exit the Wizard.
Now you can start adding your text and barcodes to your label.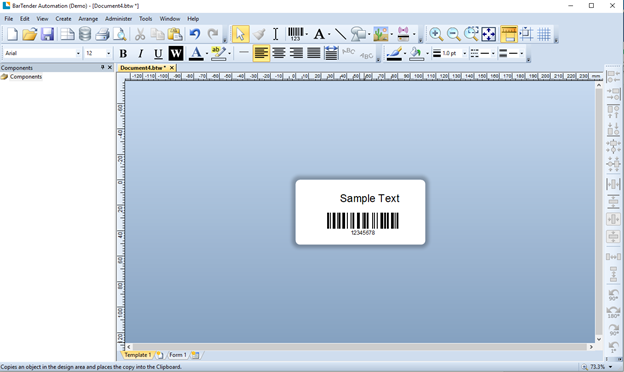
- To change the ruler settings, go to Menu, then go to View> View options.
For example, you can change the unit settings from mm to inches.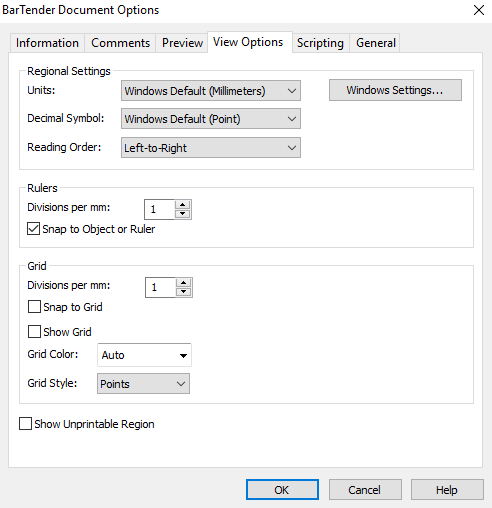
- If you wish to make additional changes, you can launch the Wizard at anytime by double-clicking a blank portion of your label template.
Just click the Wizard button on the bottom left of the window.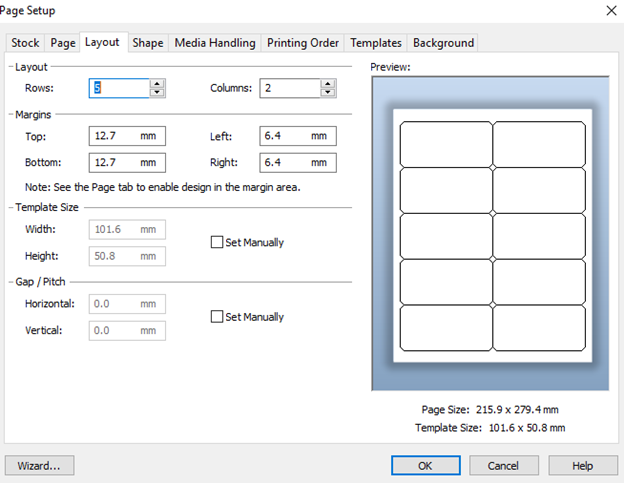
- Don’t forget to save your template once you are done!